How to Add Mods to Your ARK Server
Adding mods is one of the best ways to make your ARK: Survival Evolved server more fun, more customizable, and more interesting for your players.
In this guide, you will learn two ways to install mods on your server:
Before you begin, choose the mod you want to install from the Steam Workshop.
If you plan to use the manual method, make sure you are subscribed to the mod in Steam and launch the game at least once so the required files are created on your PC.
For this example, we will use the Ultra Stack mod:
761535755
Steam Workshop link:
https://steamcommunity.com/sharedfiles/filedetails/?id=761535755
Automated installation
This is the easiest way to add mods to your server.
Step 1) Open your console, select your server, and stop it using the STOP button.

Once the server is stopped, open SETTINGS.

Step 2) On the settings page, find the MODS field in the bottom-right section.
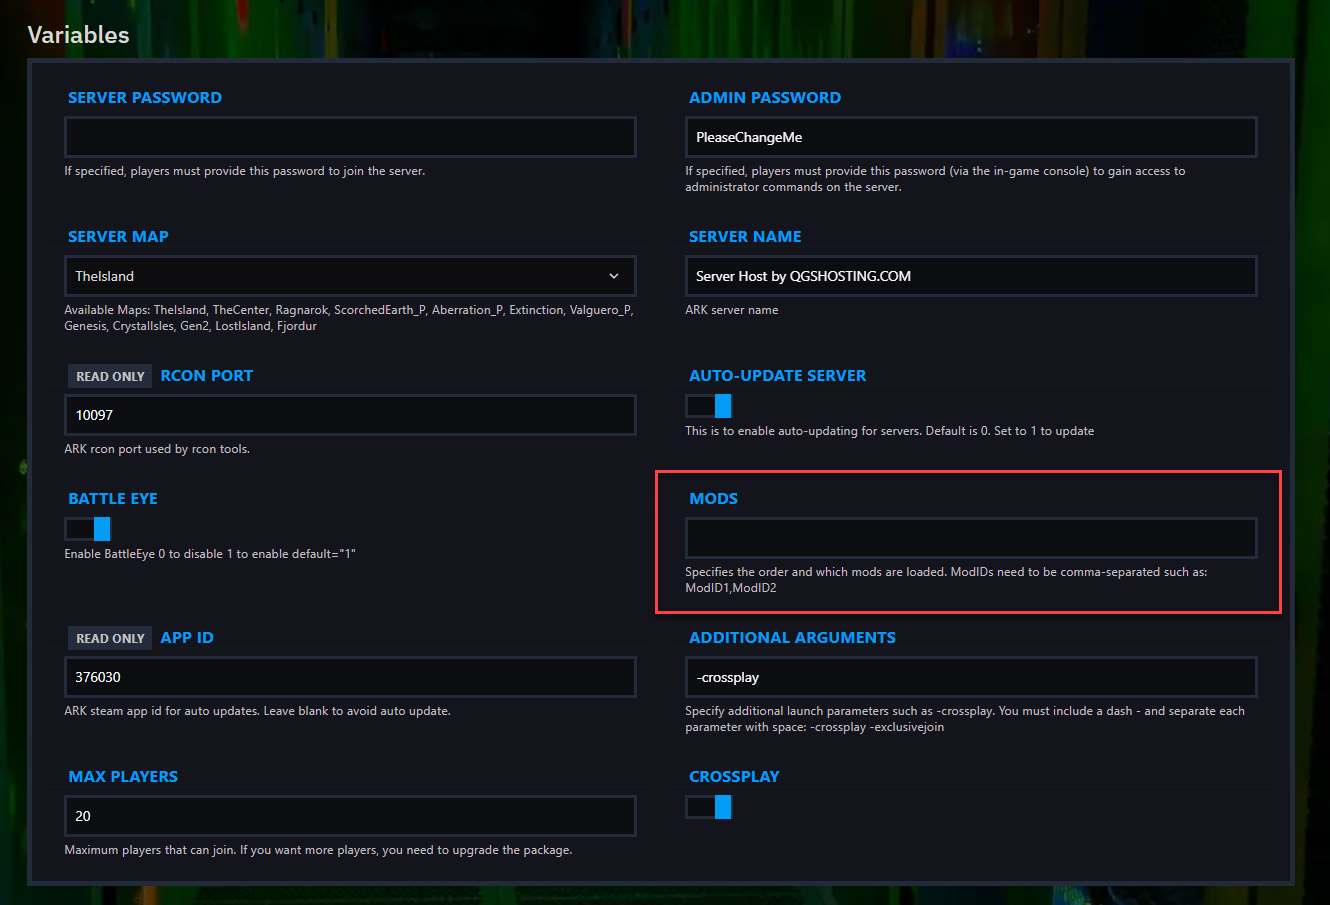
Paste the mod ID into that field.

The random number at the end of a Steam Workshop mod URL is the mod ID.
Example:
?id=761535755In this case, the mod ID is:
761535755
If you want to install multiple mods, separate the IDs with commas.
Example:
761535755,574382345,293827123
Step 3) Return to the console and start your server again.
Your mod should now be installed automatically.
Manual installation
Use this method if you want to upload mod files manually.
Step 1) On your computer, open Steam, right-click ARK: Survival Evolved, then go to:
Manage → Browse Local Files
From there, open:
ShooterGame > Content > Mods
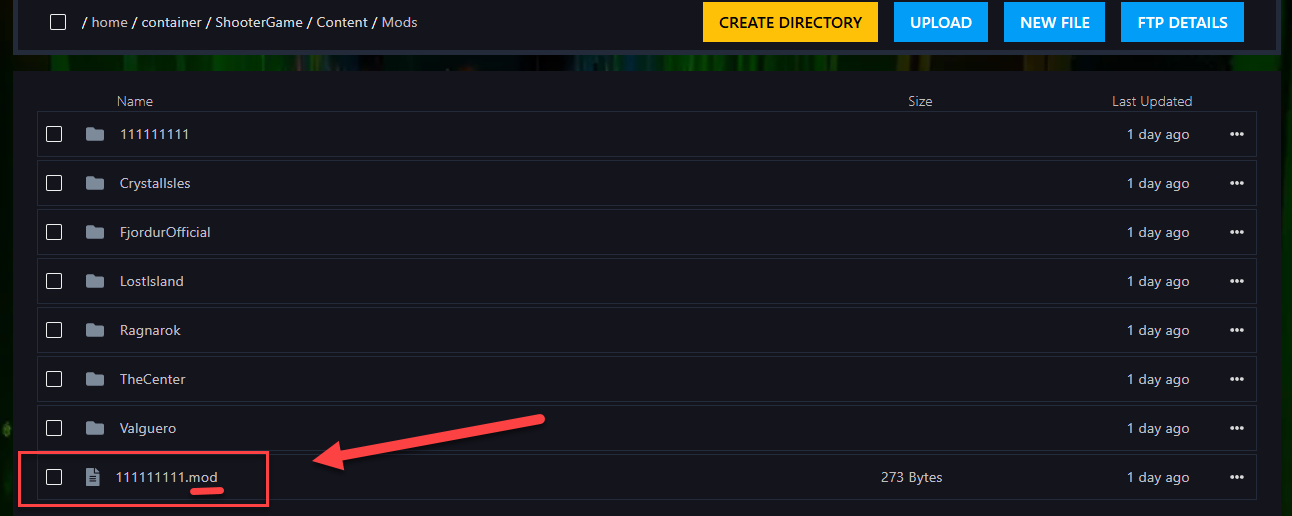
Step 2) Inside the Mods folder, you will see:
- a
.modfile - a folder with the same numeric mod ID
Create a .zip archive of the specific mod you want to upload.
Important: The number in the
.modfilename and the folder name is the mod ID.Example:
761535755.mod
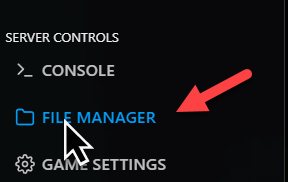
Step 3) Open your console and click File Manager from the left-side menu.
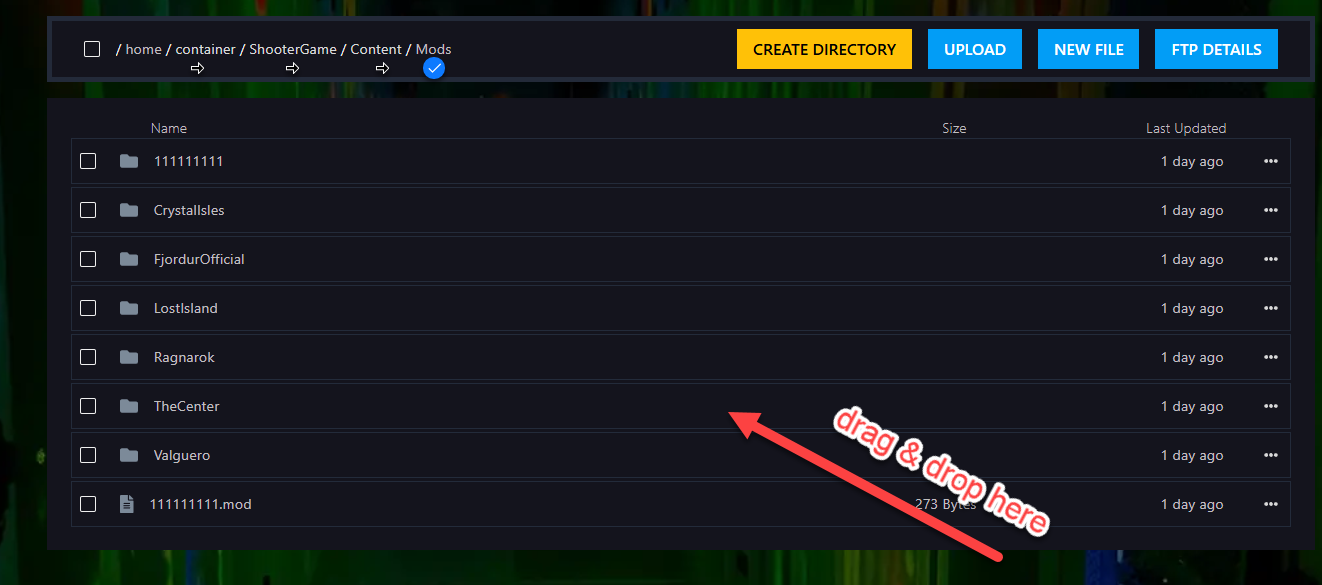
Go to:
ShooterGame > Content > Mods

Upload the archive, then right-click it and extract it.
Step 4) After uploading the mod files, go to:
ShooterGame > Saved > Config > LinuxServer
Then open the GameUserSettings.ini file.

Step 5) Under the [ServerSettings] section, add the following parameter:
ActiveMods=761535755

If you want to use multiple mods, separate the IDs with commas.
Example:
ActiveMods=761535755,574382345,293827123
Step 6) Click Save Content after making your changes.

Step 7) Return to the console and start your server again.
Your mods should now be active on the server.
Enjoy the game with your newly added mods!