How to setup whitelist on your Rust server
Rust maps are huge, giving players space to build anything from massive fortresses to trading hubs or full-blown roleplay towns. But if you want to keep things private and only let trusted people in, setting up a whitelist is the way to go. A whitelist allows you to handpick exactly who can join your server, making it perfect for creative builds, roleplay communities, or content creator projects. Adding players is quick and easy with commands from the console panel or directly in-game.
Step 1) Download the Whitelist mod from the official uMod website HERE.

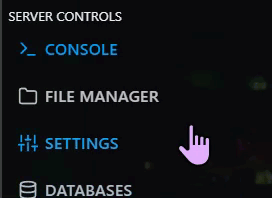
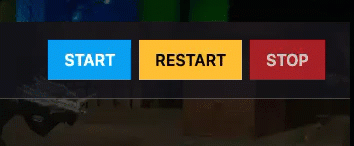
Step 2) Go to your console > click on your server and stop it using the "STOP" button.

Step 3) Once your server is stopped, go to "FILE MANAGER".
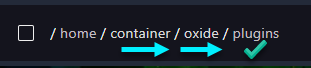
> Then navigate to home > container > oxide > plugins
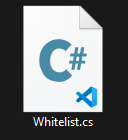
Step 4) Click Upload

> select the Whitelist.cs file you downloaded in Step 1
Step 5) Go back to the Console and start the server again.
How to Add Players to the Whitelist
Step 1) Get the player's SteamID64. and you can learn how to find it HERE.
Step 1) Go to the console and start the server (if it's not already running).
Step 2) While on the Console Page. Write the command: oxide.grant user [SteamID] whitelist.allow

Step 3) Check the console for confirmation that the command was applied. It should say "Operation completed successfully."