How to enable and manage Whitelist on your Minecraft server
A whitelist allows only approved players to join your server. Anyone who is not on the list will be blocked from connecting.
By default, whitelist is disabled on most servers.
If your server is running in offline mode or uses a cracked version, whitelist may not work properly because player UUIDs can change.
How to Enable Whitelist
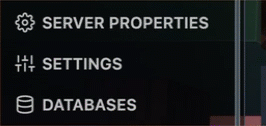
Step 1) Go to the console > click on your server > navigate to "SERVER PROPERTIES"
Step 2) Find "WHITE-LIST" and click to ENABLED it.
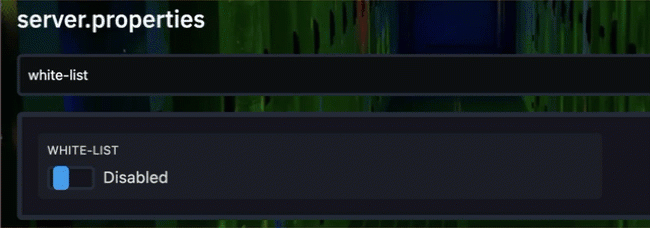
Then save the file by clicking SAVE.
Step 3) Return to the main panel and click RESTART to apply the changes.

Whitelist is now enabled on your server.
How to Add Players to Whitelist
Step 1) Open your server control panel and go to Console.
In the Type a command... field, enter:
whitelist add USERNAME
Replace USERNAME with the name of the player you want to add.
Example:
whitelist add Player1
Repeat this step for every player you want to allow on the server.
Make sure you also add your own username, because server owners are not added automatically.
Step 2) After adding all players, run:
whitelist reload
This reloads the whitelist and applies the changes immediately.

Add player when server is offline mode
If your server is running in offline mode or uses a cracked version, you may need to do the following:
Step 1) Temporarily disable whitelist:
whitelist off
Step 2) Let the players join the server at least once.
Step 3) Add them to the whitelist:
whitelist add USERNAME
Step 4) Reload the whitelist:
whitelist reload
Step 5) Enable whitelist again:
whitelist on
Useful Whitelist Commands
| Command | Description |
|---|---|
whitelist on | Enables whitelist |
whitelist off | Disables whitelist |
whitelist add USERNAME | Adds a player to the whitelist |
whitelist remove USERNAME | Removes a player from the whitelist |
whitelist reload | Reloads the whitelist file |